Verifying Socket, Bus and Firmware Alignment Before Assembly
Ensuring socket, bus and firmware alignment before assembling a system reduces the risk of incompatibilities, boot failures, and thermal or power issues. This overview outlines practical checks and considerations for hobbyists and professionals assembling desktops, workstations, or servers worldwide.

Verifying socket, bus and firmware alignment before assembly is a critical step that prevents many common hardware issues. Before you install a CPU, pair a GPU, or slot in storage, confirm physical socket types, supported bus standards, and compatible firmware versions. Taking time to check motherboard documentation, CPU support lists, BIOS/UEFI notes, and peripheral requirements helps avoid assembly rework, driver conflicts, and unexpected thermal or power behavior.
How to verify motherboard and CPU socket compatibility
Start with the motherboard specification sheet and the CPU manufacturer’s compatibility lists. Confirm the socket type (for example, LGA or AM4) and check supported CPU families and stepping revisions. Some boards require a specific BIOS/UEFI version to initialize newer CPUs; note whether a BIOS update is necessary before first boot. Verify memory compatibility as well—supported RAM speeds and module density can affect whether the system posts. If a BIOS update is required, plan whether the board supports BIOS Flashback or if you need an older CPU to perform the update.
What to check for GPU, bus lanes, and firmware interaction
Confirm the GPU interface (typically PCIe) and the motherboard’s supported PCIe generation and lane configuration. A GPU designed for PCIe 4.0 will work in a PCIe 3.0 slot but at reduced bandwidth; verify whether that impacts intended workloads. Some GPUs may require specific UEFI GOP support or firmware features for GPU initialization and multi-GPU configurations. Also check for BIOS options that affect PCIe bifurcation if using multiple NVMe drives on a GPU-adjacent riser, and ensure the case and motherboard layout allow sufficient clearance and airflow for the chosen GPU.
How firmware and firmware updates affect compatibility
Firmware (BIOS/UEFI) bridges hardware and operating systems; mismatches can prevent boot or reduce stability. Review the motherboard vendor’s firmware changelog to confirm support for your chosen CPU, memory, and storage devices. When firmware updates are needed, follow vendor instructions precisely—use the recommended update method and avoid power interruptions. Note that firmware may also add or change configuration options (for example, power management or PCIe lane allocation), so retest settings after updates. Keep firmware images from the manufacturer and verify checksums where provided.
How to assess power, thermal and cooling requirements
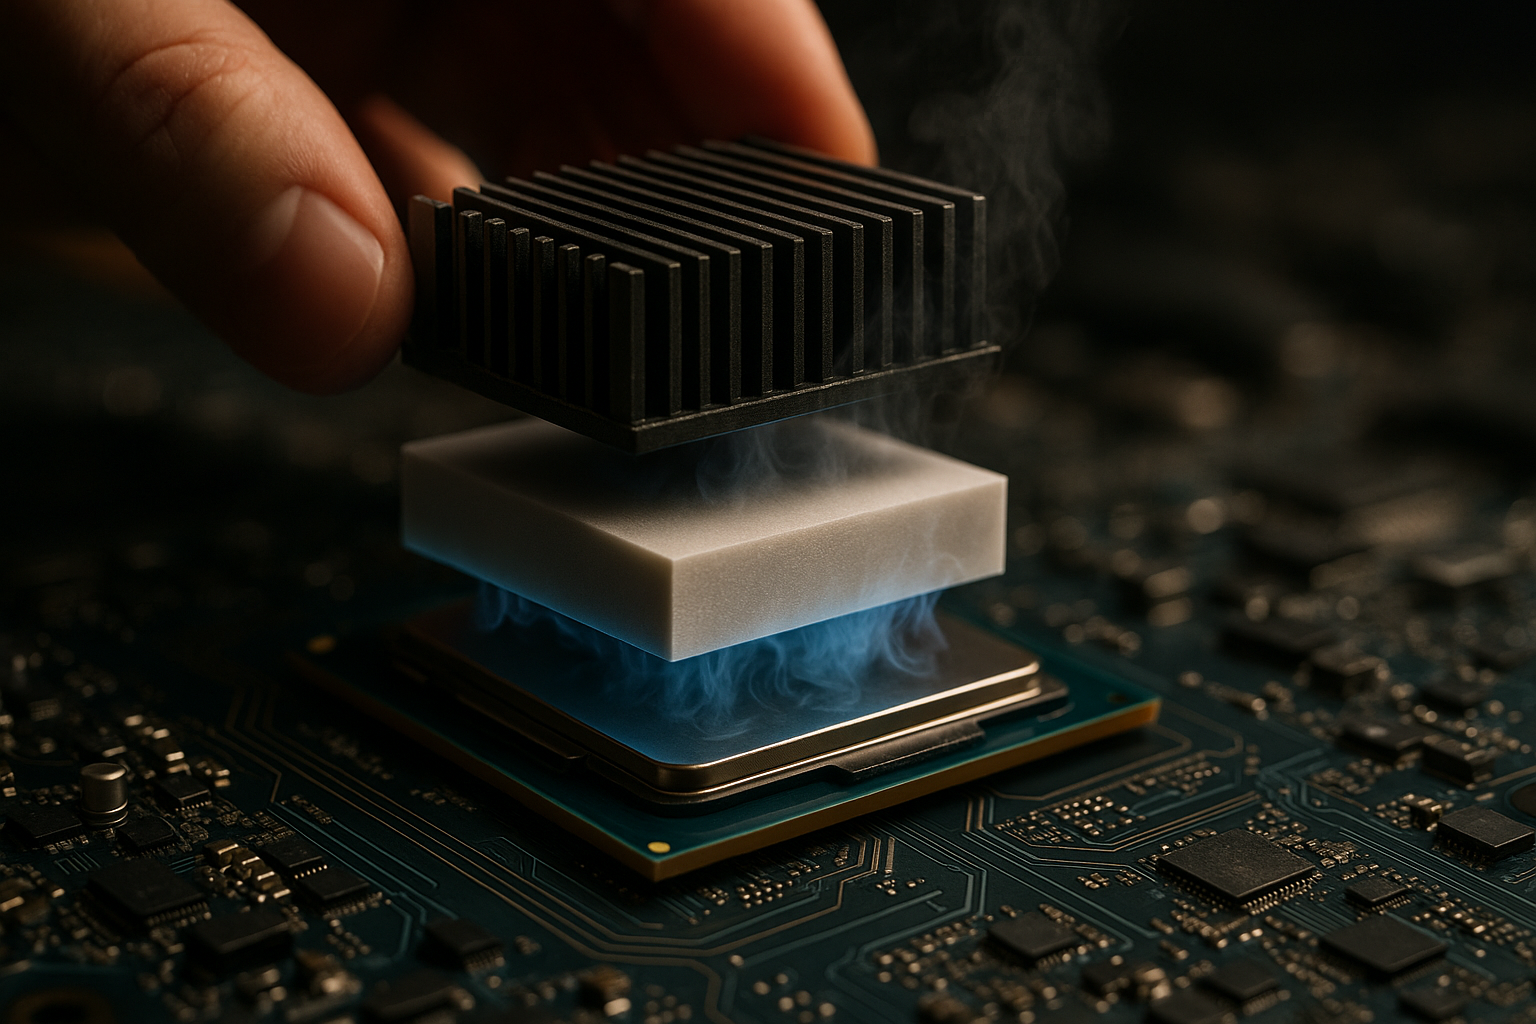
Match power supply capacity and connectors to component needs: CPU and GPU peak draw, drive and peripheral power, and headroom for transient spikes. Check TDP and manufacturer guidance for both CPU and GPU, and account for additional power for overclocking or accessory cards. Cooling requirements depend on socket and case layout; ensure the chosen cooler is compatible with the socket and has sufficient clearance. Consider case airflow paths and fan configuration to maintain acceptable thermal environments for the CPU, GPU, SSDs, and VRMs.
How cabling, airflow and storage choices affect assembly
Plan cabling early to avoid obstructing airflow or blocking large GPUs. Measure cable lengths and route SATA, power, and front-panel connectors to minimize interference with fans and heat sinks. For storage, confirm M.2 slot versions and any shared lanes with SATA ports—installing an M.2 SSD may disable certain SATA ports or change lane allocations. Verify whether NVMe drives require heatsinks and whether the motherboard provides thermal pads or dedicated cooling for high-speed SSDs to prevent throttling.
How to plan for peripherals, modularity and upgradability
Evaluate internal and external peripheral needs and ensure the motherboard offers appropriate headers, USB types, and expansion slots. Check header locations and whether front-panel connectors or RGB controllers will conflict with large coolers. Think about modularity: choose cases, PSUs, and drive cages that facilitate future upgrades. Confirm the motherboard’s support for additional storage, GPUs, or cards and whether BIOS/firmware supports the intended expansion without requiring complex reconfiguration.
Verifying socket, bus and firmware alignment before assembly reduces surprises and improves the odds of a successful first boot and stable operation. A checklist approach—confirm socket types, firmware versions, PCIe and storage lane mappings, power requirements, and physical clearances—helps catch incompatibilities early. After assembly, validate system behavior with stress and thermal monitoring to ensure that firmware settings and cooling are adequate for the components in place.


